Digital cameras and camcorders allow you to capture and record memorable things and events. Before transferring a piece of camcorder video for sharing with your families and friends or editing it in professional NLEs for better visual effect, you need to know how to connect your camcorder to Mac first.
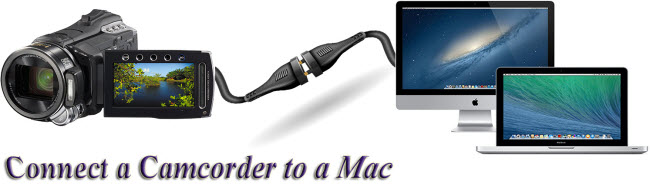
What you need to connect your camcorder to a Mac is a FireWire cable. A FireWire cable comes with almost every camcorder on the market. Have no FireWire cable? Don’t worry! You can go to those large computer and electronic stores to find one for yourself. But remember that the FireWire you want to buy is appropriate for your camcorder and Mac. Nearly all cameras and camcorders use a four-pin connector, and you’ll find no difficulty purchasing one FireWire cable.
After getting a FireWire cable, what are the right steps to make your camcorder connected to Mac?
Step 1. Plug FireWire cable to camcorder
Find the four-pin port on your camcorder and on most cameras and camcorders, a four-pin port is usually located under a plastic or rubber boot. Leave your camcorder powered off, and lift up the boot and plug the smaller four-pin end of FireWire cable into the FireWire port of your camcorder.
Step 2. Insert FireWire cable to Mac
Once the four-pin end of FireWire cable is connected to your camcorder, it is time to connect FireWire cable to Mac. Insert the larger six-pin end of FireWire cable to your Mac’s FireWire port. When both ends of the FireWire cable are connected, turn your camcorder on.
Step 3. Ready for media transfer from camcorder to Mac
After finishing the above two steps, your Mac will run iMovie automatically in a few seconds. Follow the on-screen guides and instructions on Mac and get ready for media transfer from camcorder to Mac.