Great camera improvements of iPhone 6 and 6 Plus
The iPhone 6 and iPhone 6 Plus are Apple’s latest contributions to the smartphone world and joint successors to the iPhone 5S. The two models are very similar in terms of specification. There is only one significant difference between iPhone 6 and iPhone 6 Plus cameras. The iPhone 6 has only image stabilization, while the iPhone Plus which costs 100$ more has optical image stabilization.
Compared to the former version, there are two significant improvements. The addition of “Focus Pixels” on iPhone 6 and iPhone 6 Plus will give fast autofocus and improved clarity to your shots. The optical image stabilization provides a nice improvements in sharpness in low light and reduce noise in the photo, which helps to produce much better images in very dim environments.
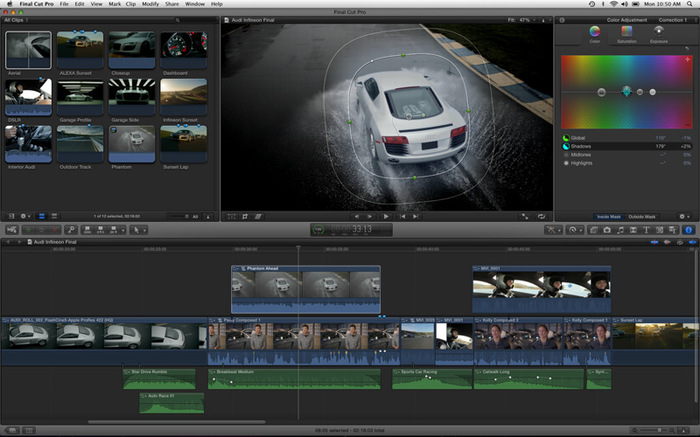
Although the camera on iPhone 6 or 6 Plus can not replace the 4K video captured with some professional camcorders, however, the quality is pretty good and compares very favorably with the purpose-built 1080 HD camcorders. For Final Cut Pro X editors,it is pretty easy and convenient to optimze the iOS footage workflow from your iPhone 6 and 6 Plus.
To get further post production in Final Cut Pro X with best results, make most of your iPhone 6 camera’s capabilities by following the tips below:
1. Shoot Long Takes
We usually begin shooting when start action and stop recording when the action is completed. The result is that we will have very limited editing choice in post-production. Therefore, start to record a few seconds before your action, and continue to shot for a few seconds when the action is over. Finally, you will be surprised to find that there are extra handles of useful footage, especially when you’re trying to add a long voiceover onto multiple shoots in Final Cut Pro X.
2. Record Secondary Audio with Voice Memos
If you want to get the background ambience of a particular location to lay over an entire montage laterly, the Voice Memo is a nice way for you to get audio only clips. You can grab a quick minute or two of clean audio with the Voice Memos app for setting in Final Cut Pro X.
3. Do Slow-Mo in Post
The iPhone 6 offers slow-motion modes of up to 240 frames per second. Unfortunately, in order to achieve these higher frame rates, the camera samples less of the sensor area (this is common on high speed cameras). The result is lower resolution in slow motion shots. You won’t notice this as much on the relatively small screen of the phone itself but it’s painfully clear when you look at the footage on an HD monitor back in FCPX. The built-in optical flow based slow motion in FCPX is a very good alternative. So, shoot full 1080p 30 (or switch to 60p if you are certain the shot will be slowed down).
4. Transfer Everything At Once
Get everything transferred to Final Cut Pro X first and then start the edit. The reason is that the iPhone 6 has limited its lightning connected to USB2, it will take a long time to transfer the H.264 clips from the phone to FCP X. Therefore, transfer all the footage you shot for a particular project at one time.
5. Use Focus/Exposure Lock
Use the great automatic focus/exposure meter when you capture. When you find your iPhone camera ridding the exposure and focus up and down within a shot, simply tap and hold on the screen on the subject that you wish to be exposed and focused and the exposure/focus will lock for the next shot.
6. Add Voice Notes While Shooting
Annotate the video vocally as we shot when you are shootind a lot of b-roll/montage footage which we would not use it with the video, this will be much fast and simpler than witting notes during the recording. And we can replace the temp audio with cleanly recorded voice over when we edit the footage in FCP X.
7. Get the 128 GB model
The iPhone 6 shoots H.264 video about 135 MB per minute and 8 GB per hour. To keep all your favorite music, movies and lots of other apps on the same iphone, it is ideal for you to get a 128 GB model for taking video footage with the extra enough storage space.
8. Optimize on Ingest
Do this for for better editing performance and quality. The H.264 long-GOP clips created by the iPhone can be played natively in FCPX but you’ll find performance suffers a lot as soon as you add filters/transitions/color grading due to the increased processing/encoding required. If you optimize to ProRes on ingest, this only has to be done once per clip and from then on the editorial performance will be much better. The lower spec’ed machines like Mac Minis and MacBooks will benefit from this the most. Make sure that the Create optimized media option is checked on import.
9. Shoot Steady
Shoot steady with a an iPhone tripod or len the phone on a table, chair, or doorway. You can also minimize the sway by holding the phone closer to your body and taking shorter steps. The optical image stabilization with iPhone 6 is quite good for keeping steady. Combine this with some judicious application of stabilization in FCP X and you can achieve nice, smooth camera moves.
10. Watch the Color Temperature
Keep your eyes open on the mixed lighting sources as you shoot. The onboard light produces a flat/deer-in-the-headlights look, therefore, do not use it unless you are literally in pitch blackness without it.
Conclusion:
Apply all the above iPhone 6 tips we have shared in this article, the quality of your iPhone footage will achieve a great improvement, then go on the post production work flow with those optimized iPhone footage in Final Cut Pro X.