Vegas Movie Studio can not handle 3D M2TS files
"I have produced some M2TS files using my Sony 3D camera and Panasonic Lumix 3D camera, I would like to create a 3D audio-visuele shows from the footage with Vegas Movie Studio -13, however, Vegas Movie Studio can not handle the 3D M2TS files. Can you recommended a program to help me convert my 3D M2TS files so that I can finish my post editing workflow?"
With Sony Movie Studio 13 Platinum, you can now produce 3D video with innovative stereoscopic 3D editing tools. The program adds multistream 3D format support and XVAC S support. However, it still lacks the capability to handle 3D M2TS files.
Transcode Sony/Panasonic 3D M2TS for Movies Studio 13
To import Sony/Panasonic 3D M2TS to Vegas Movies Studio 13 Platinum, you will need to Transcode 3D M2TS to Movie Studio 13 Platinum supported formats. After a random Google search, you may find that there are many program can do the job for you. However, you may find Pavtube MTS/M2TS Converter is better reviewed on many sites than its competitors. Besides enabling you to output 3D M2TS to Sony Vegas Movie Studio supported video and audio formats as below:
Audio formats: AAC, AA3, AIFF, FLAC, WMA, MP3, OGG, MPEG-1,
Video formats: AVI, WMV, MPEG-2, MPEG-4, MVC, QuickTime, XAVC S
It also facilitate you to output 3D M2TS to Vegas Movie Studio 13 Platinum preset profile format so that you can directly import and edit the files with Movies Studio 13 without any extra complicated settings.
Edit Sony 3D M2TS files
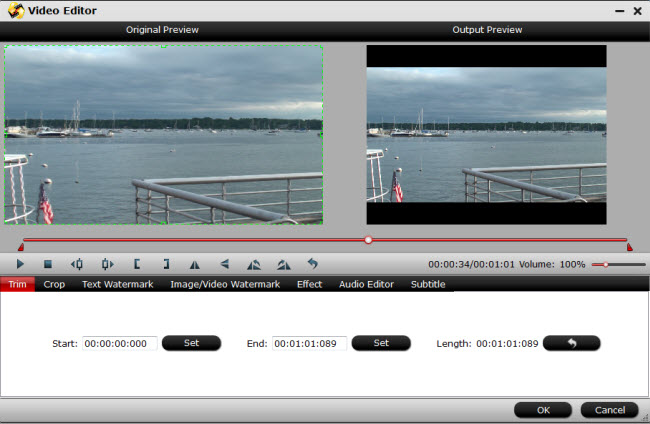
You can polish your video with the basic video editing functions offered by the program. Trim video length to remove unwanted parts, merge separate video clips into one, crop the black bars around the video, add transparent watermark to video, split large video files into small by file number, count or time, remove audio in video or replace audio in video.
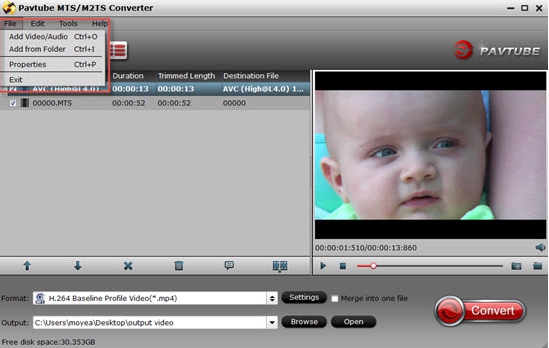
Step 1: Import 3D M2TS files with the program.
Open up the program on your computer, then on the main interface, click "File" > "Add Video/Audio" or "Add from folder" to import Sony/Panasonic 3D M2TS files to the program.
Step 2: Pick the output file format.
From "Format" drop-down options, select Sony Vegas Movie Studio 13 Platinum specially optimized file format from "Adobe Premiere/Son.." > "MPEG-2(*.mpg)".

Step 3: Edit 3D M2TS files.
Merge: Check
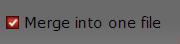 option on the main interface to join all your separate MXF files into single one.
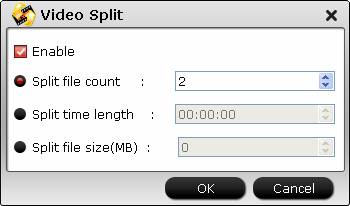
Split: By clicking the "Split" button on file list, or from "Edit" menu, you can launch the "Video Split" window. Checking "Enable" to enable it, and then you can split the file by file count, time length, or file size.
Trim/crop/watermark video:
Step 4: Start conversion.
Clicking the "Convert" button on the main interface, you can go to Conversion window to start conversion.
After the conversion, you can click Open output folder to popup output directory with the converted files. Then import converted files to Sony Vegas Movie Studio for smooth post production workflow.


