Adobe Premiere Pro is one of the most prevailing NLEs. As a powerful multi video and audio editing tool, Adobe Premiere Pro can assist users to work much more efficiently with its wide applications and beautiful editing effects.
How to use this non-linear editing app and how to maximize this real-time video and audio editing tool is necessary for both beginners and professors.
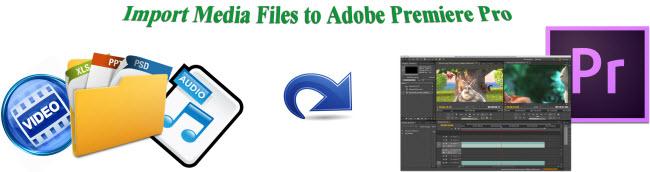
Import media files to Adobe Premiere Pro
With Adobe Premiere Pro, you’re allowed to import a single video clip, or multiple video clips, or an entire folder of video clips to it. Audios and images can also be imported to this innovative editing app.
Kindly note: Though Adobe Premiere Pro supports pretty much any format, it is still necessary for you to check whether the media files you want to import to it is well supported by Adobe Premiere Pro. Here is Adobe Premiere Pro supported formats. If you got a video clip in an incompatible format with Adobe Premiere Pro, it is best to get an Adobe Premiere Pro video converter first.
You can import media files to Adobe Premiere Pro in 4 methods:
Method 1. Standard import
Standard import is the most popular and straightforward method for Adobe Premiere Pro users to add media files to this creative editing tool.
Step 1. Run Adobe Premiere Pro
Run Adobe Premiere Pro on your Windows PC or Mac, and click “File” to follow “Import” to add any media file to Adobe Premiere Pro. If you prefer to use shortcuts to import your media files, please press Ctrl+I (Windows) or Cmd+I (Mac).
Method 2. Import media files with Media Browser
Media Browser is the most used and favorite importing way for Adobe Premiere users. Unlike the standard import, the Media Browser can be left open and docked. It provides quick access to any media file while editing for you. It is also able to read and display video clips from P2 cards, SxS cards, XDCAM disks, and DVDs.
Step 1. Find Media Browser
Run Adobe Premiere Pro and click “Window” and “Media Browser.”
Step 2. Import from Media Browser
Choose “File” and “Import from Browser” or right click the file in Media Browser and choose “Import.” You can also drag files from the Media Brower to the Project Panel or a Timeline directly.
Method 3. Import media files with Import Commands
When importing media files from file-based media directly, it is best for you to transfer these files to a hard disk first, and then import them from the hard disk.
Step 1. Choose File > Import. You can select multiple files.
Step 2. To import a recently imported file, choose File > Import Recent File > [filename]. (The filename doesn’t appear if Premiere Pro preferences have been reset.)
Step 3. To import a folder of files, choose File > Import. Locate and select the folder, and then click Import Folder. The folder, with its contents, is added as a new bin in the Project panel.
Method 4. Import media files with Adobe Bridge
Media files can be imported into Adobe Premiere Pro with Adobe Bridge.
Step 1. Start Adobe Bridge
Click “File” and “Browse in Adobe Bridge” or choose a file in “Project” panel and then click “File” to follow “Reveal in Adobe Bridge.”
Step 2. Import media files from Adobe Bridge
Start Adobe Bridge and double click the clip in Adobe Bridge.
Tips:
When encountering video import failure, you shall never miss a Premiere video converter to help you convert the incompatible video files to video formats supported by Adobe Premiere Pro.