If you work frequently with TVs, video projectors, monitors, and camcorders, you might be quite familiar with the concept of Interlaced Video and Progressive Scan (Noninterlaced scanning alternatively).
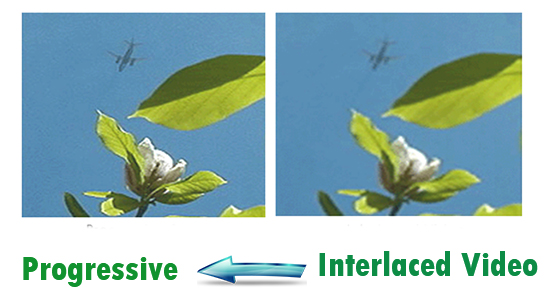
Progressive scans provide smoother and more realistic image than interlaced ones. The actual DVD player unit that plays the DVD is either interlaced or progressive. If it is interlaced, you’ll see tiny waves in the middle which will lead to unpleasant viewing experience.
How to remove waves in interlaced DVDs with Pavtube BDMagic?
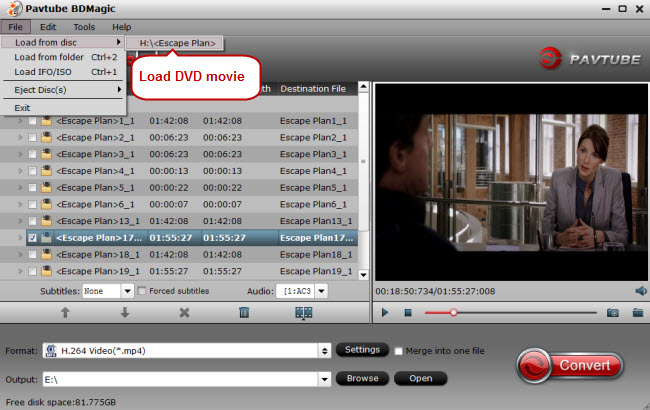
Step 1. Run Pavtube BDMagic and load DVD movie
Launch Pavtube BDMagic after installation, and load your DVD movie by clicking “File” > “Load from disc.”
Step 2. Go to “Video Editor” window
Click “Edit” or the pencil icon and the “Video Editor” screen will pop up.

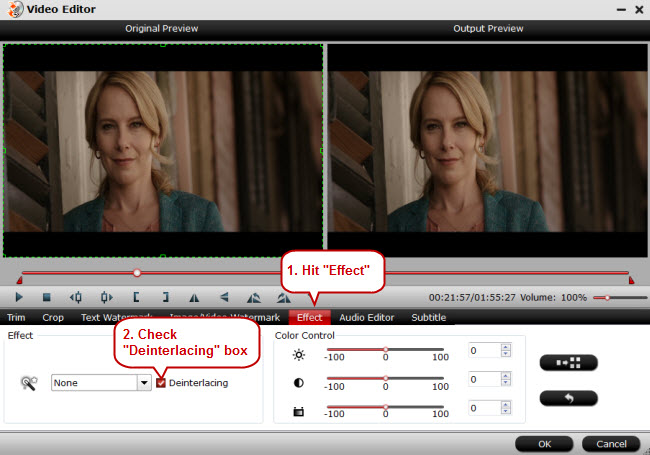
Step 3. Deinterlace DVD movie
Hit “Effects” tab in “Video Editor” screen, and check “Deinterlacing” box.
After picking the “Deinterlacing” option, the original preview window and output preview window will tell you the difference.
Step 4. Start deinterlacing DVD movie
Click “OK” in the above step, and hit “Convert” button to start deinterlacing DVD movie.
Tips:
99.9% DVD players can be de-interlaced to form a progressive image. So there is no need to worry about that your DVD movies are interlaced with annoying tiny waves. When heading for purchasing a DVD player, you’re suggested to view the same DVD movie in each type of DVD player to make the best judgment.