For Mac users, after you have captured some great video with your Camtasia Studio for Mac, you may come the ideal to export the video out for enhanced post editing workflow with some professional video editing software such as Adobe Premiere Pro, Final Cut Pro X, Davinci Resolve or do other simple video editing such as trimming, splitting, merging, etc with some free video editing apps. The following article will show you how to play and edit Camtasia Studio Video on Mac.
What formats are recorded by Camtasia Studio for Mac?
Before going any further, you should first be clear of the file formats captured by Camtasia Studio for Mac. From Camtasia Studio's official site, we get the information that the version 2.8.0 of Camtasia for Mac record Camtasia video with TREC format, while the previous version of Camtasia Studio for Mac records Camtasia video in .CMREC format.
Export Camtasia Studio for Mac captured video to MP4
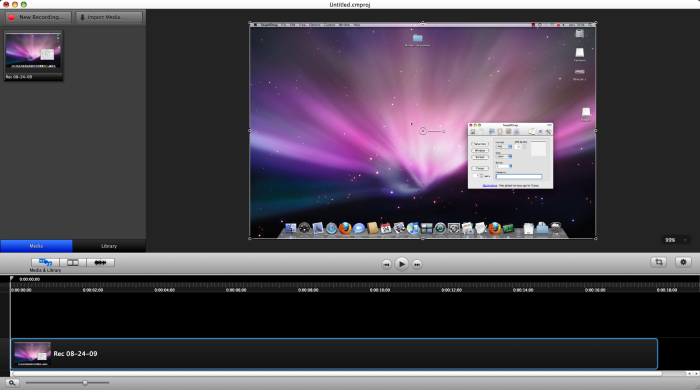
Camtasia Studio allows you to directly export captured video in MP4 format. Just import TREC or .CMREC into Camtasia Studio for Mac. You will see the TREC or .CMREC files are in the Clip Bin and the Timeline in "Project Edit" Window. Then click "File" > "Save Project" to save the project file. Click the "Produce and Share" button above the Clip Bin area to launch the production wizard. Expand the menu to see a list of production options. There you can select MP4 format for output.
Edit Camtasia Studio for Mac MP4 video on Mac
Transcode Camtasia Studio for Mac MP4 for Mac NLE software
If you choose to edit Camtasia Studio for Mac with some professional Mac video editing software such as iMovie, Final Cut Pro X, Adobe Premiere Pro, Avid Media Composer, Davinci Resolve, etc but encounter format or codec incompatible issue or wish to get the best workflow of Camtasia Studio MP4 video with those NLE program, you can seek help from Pavtube iMedia Converter for Mac, which allows you to directly produce all above listed editing program specially optimized editing codec such as Apple Intermediate Codec (AIC), Apple Prores, DNxHD, etc for high performance and high quality editing workflow.
Merge/Trim/Split/Watermark/Deinterlace Camtasia Studio for Mac MP4 video
If you just wish to do some simple editing tasks on the Camtasia Studio for Mac recorded MP4 video, you can also get the job easily completed with the built-in editing tools provided by Pavtube iMedia Converter for Mac, you can create the exact video you want the the following distinctive editing functions offered by the program.
Flip or rotate video: Flip video horizontally or vertically, rotate video clockwise or counterclockwise to get it displayed in the right angle
Trim: cut off video to remove unwanted parts from the video to have only your desired parts to be converted
Split: Split large video into small clips by file size, count or length
Crop: Get rid of the black edges and unwanted area of the image from the video.
Text watermark: Add image/video/transparent text watermark to the selected video clip to make it more personalized.
Deinterlace: Deinterlace interlaced video into progressive form.
Effect: Apply special effects like Simple Gauss Blur, Flip Color, Invert, Aged Film to your source video or correct color by adjusting brightness, contrast, and saturation. Deinterlace:
Edit Audio: Replace/remove original audio, or set audio fade in/out effects.
Subtitle: In this tab, you can add *.srt or *.ass/*.ssa external subtitle-files to video files as hard subtitles.
How to Edit Camtasia Studio for Mac MP4 Videos on Mac?
Step 1: Load Camtasia Studio for Mac MP4 video files into the program.
You can directly drag and drop the MP4 video files with audio into the program or click "File" > "Add Video/Audio" or "Add from Folder" to load Camtasia MP4 video files into the program.

Step 2: Choose output file format.
For editing Camtasia Studio for Mac MP4 video with professional Mac editing program, you can choose those program preset profile editing formats, for example, for editing with Final Cut Pro X, just output "Final Cut Pro" > "Apple Prores 422(*.mov)", you can also choose other editing formats or codec according to the editing software you are using.

Step 3: Trim/Merge/Split/Crop Camtasia Studio MP4 video.
To activate the "Edit" menu, you have to select an item first. When a video file is selected, you can click the "Edit" icon on the tool bar of main interface to edit selected file.
Flip or rotate
You can click the flip arrow to flip video horizontally, vertically, 90°towards left, 90°towards right.

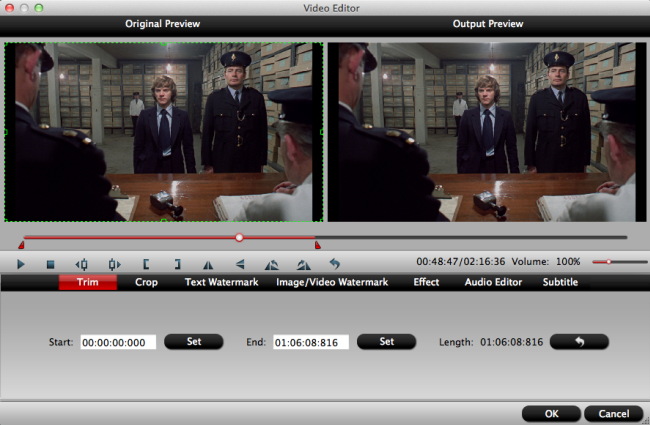
Trim:
Switch to the "Trim" tab, drag the slider bars to set the start time or ending time to include the segments you wish to be converted or click the square brackets to set the start point or ending point when preview the video, you can also directly input specific value in "Start" and "End" box to select the converted clips.
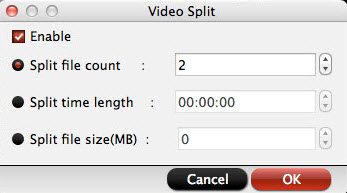
Split
By clicking the "Split" button on file list, or from "Edit" menu, you can launch the "Video Split" window. Checking "Enable" to enable it, and then you can split the file by file count, time length, or file size.
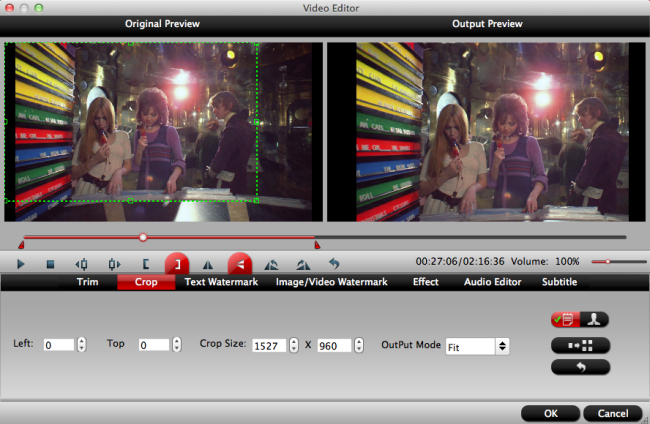
Crop
Click "Crop" tab, simply move your mouse cursor to drag and adjust the green frame to desired position or crop video be setting specific values in the box of "Left", "Right" and "Crop Size" under "Simple Mode" and type in specific values in the box of "Left", "Top", "Width" and "Height" under "Advanced Mode".
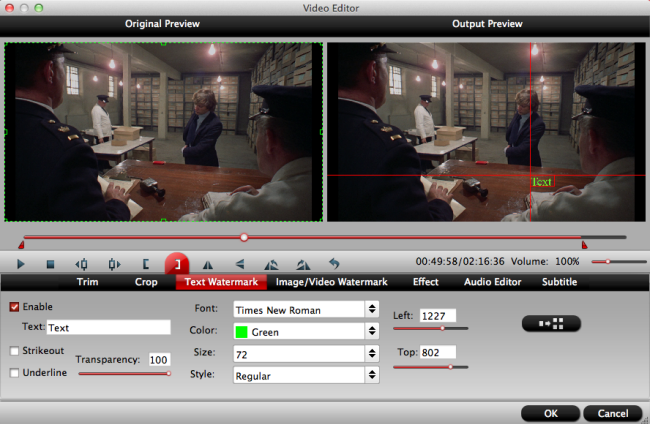
Watermark
Go to "Text Watermark", check Enable to add text watermark to selected video clip. You can either set parameters or drag the text on preview screen to set its location.
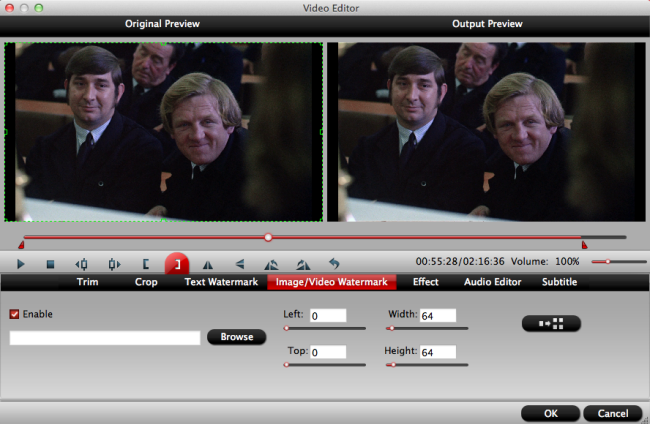
Switch to "Image/Video Watermark", Check Enable to add images or videos as watermark onto selected video file. The location can also be set by dragging on the preview screen.
Text Watermark
Image/Video Watermark
Deinterlace video
In the "Video Editor" window, switch to the "Effect" tab, tick off "Deinterlacing" option to transform the interlaced video into a progressive form without any artifacts.
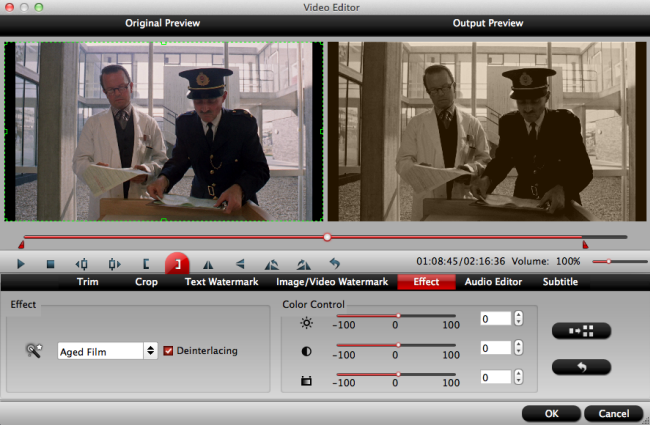
Effect
Under Effect tab, you can add special effects like Simple Gauss Blur, Flip Color, Invert, Aged Film to your source video. In Color Control section, you can correct color by adjusting brightness, contrast, and saturation. You can also tick off "Deinterlacing" to keep good image quality.
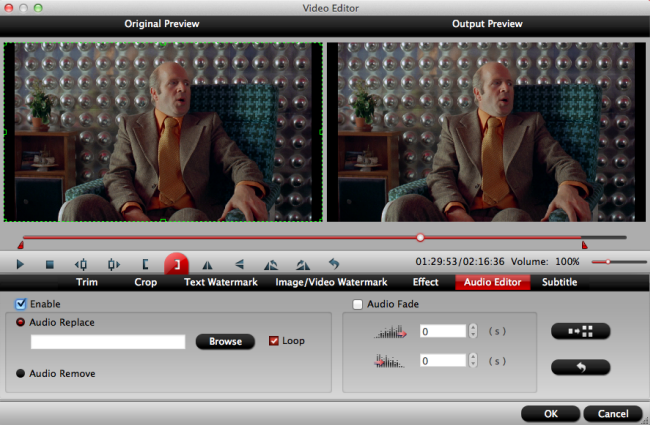
Edit Audio
Replace/remove original audio, or set audio fade in/out effects.
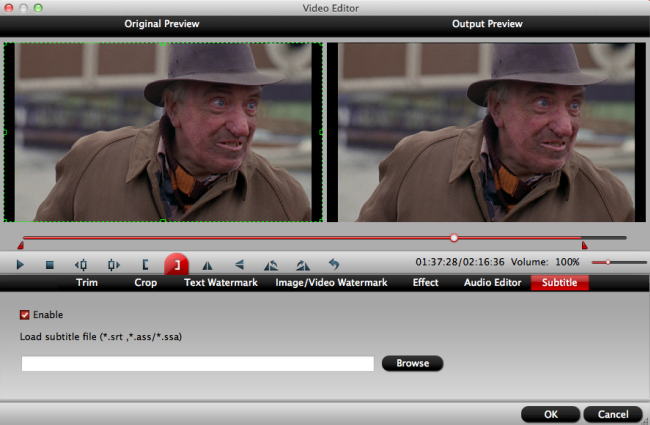
Subtitle
In this tab, click browse button to add *.srt or *.ass/*.ssa online downloaded subtitle-files to the video as hard subtitles.
Step 4: Start conversion.
Browse your Mac hard drive to find the final destination to store the converted files. Then hit right-bottom "Convert" button to start the Camtasia Studio for Mac MP4 video conversion and editing process.


