In this part you will find overview, key features, and system requirements, as well as installation, registration, and user interface and menu instructions of Pavtube HD Video Converter for Mac.
What is Pavtube HD Video Converter for Mac?
Install, Register, & Uninstall Pavtube HD Video Converter for Mac
What is Pavtube HD Video Converter for Mac?
Pavtube HD Video Converter for Mac is designed for converting HD videos from HD camcorders or DVs (like JVC, Panasonic, Sony and Cannon), non-protected HD or Blu-ray movies, DVR files (*.tivo) to other file types for playback on popular media devices like Apple TV, iPod, iPad, iPhone, iPhone, PS3, Xbox360, WD TV HD Player, PSP, Android devices… or for editing in iMovie, Final Cut Express, Final Cut Pro, Avid Media Composer, Adobe Premiere, etc.
Key features:
- Support various video/audio formats and even image formats, including but not limited to MOV, MP4, M4V, AVI, WMV, MKV, MPG, TiVo, MTS, M2TS, MXF, RM, RMVB, FLV, etc.
- Support Apple ProRes/DVCPRO/HDV/Avid DNxHD/AIC encoding
- Output files for universal players and devices, as well as video editing software
- Multi-task operation and batch conversion
- Merge files together and trim out unwanted clips by specifying accurate frames
- Split selected video file by specifying clip quantity, duration time and file size
- Support inputting multi-track audio and video files and replacing audio track
- Support adding *.srt and *.ass/*.ssa subtitles
- This program can remove interlacing lines on videos from Interlaced scanning cameras, Interlaced DVs, or DVDs.
- Powerful editing facilities (crop out unwanted black edges, trim out unwanted video parts, add Text/Image/Video watermark, add special effects, eliminate the interlacing lines, adjust the volume, split video clips, replace/remove the original audio track, add fade in/fade out effect for audio and more)
Install, Register,& Uninstall Pavtube HD Video Converter for Mac
System Requirements
- 1G Hz or above PowerPC G4/G5 or Intel processor
- Mac OS X Leopard (10.5), Snow Leopard (10.6), Lion (10.7), Mountain Lion (10.8), Mavericks (10.9)
- 512 MB physical RAM (memory) or more
- 1024*768 or higher resolution display
Install & Uninstall
To install Pavtube HD Video Converter for Mac, please
1. Download Pavtube HD Video Converter for Mac setup or install file.
2. Double click on the setup file to begin installation.
3. Follow the instructions to install Pavtube HD Video Converter for Mac on your computer.
To remove Pavtube HD Video Converter for Mac from your Mac computer, simply drag it to trash.
Registration
Please note that you can’t directly register the software from trial version. You need to purchase the retail version, activate Pavtube Member Zone account, and login to get the download link and registration code for retail version. If you didn’t get the activation email, please contact our technical support via videomacsupport@pavtube.com for help.
User interface
Pavtube HD Video Converter for Mac is a very easy-to-use converter tool. You can get what you want within just a few clicks on the interface.
The main interface is composed of title bar, menu bar, tool bar, file list, preview window, output settings area, and status bar.
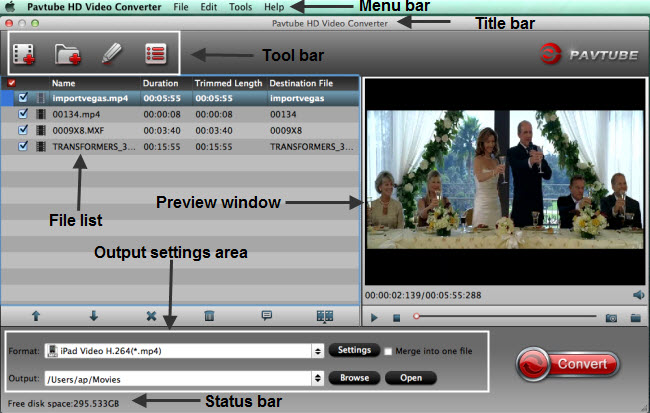
1. Title bar
The title bar displays software name.

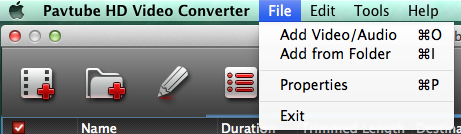
2. Menu bar
There are four menus in menu bar, namely “File”, “Edit”, “Tools” and “Help”.

File: Contain operations like "Add Video/Audio", "Add from folder", and "Properties".
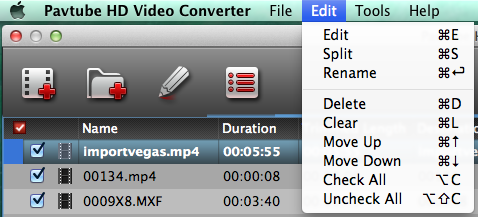
Edit: Edit selected task.
Tools: On this menu, you can change language and skin, customize format list, or launch Options window.

Language: You can choose from English, Japanese, and Simple Chinese.
Skin: Currently, there’s only one skin.
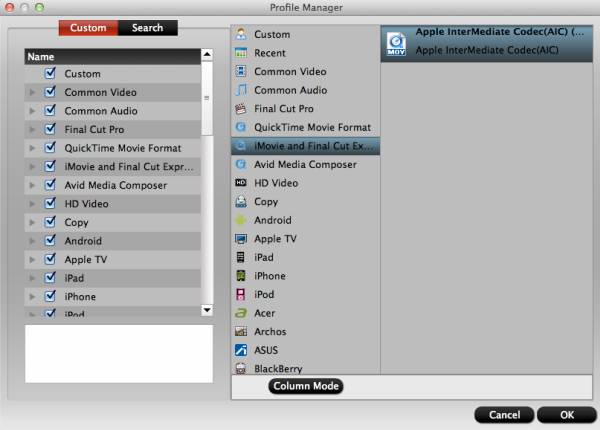
Customize Format List: You can launch Profile Manager and choose which output format to show in your format list. By default, all output formats will show in format list. This manager can also be launched by clicking Customize button![]() at the bottom of Format list.
at the bottom of Format list.
As shown in image below, by checking specific categories on the left column, you can choose which categories or output formats to show on format list.
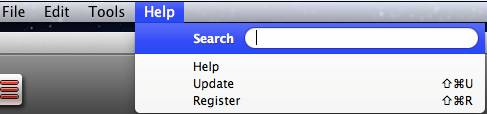
Help Menu: On this menu, you can find the online user manual, check update, and launch register window with purchase link (if you are using a trial version).
3. Tool bar
Four icons are displayed in tool bar.

Add video: Browse and load source files
Add from folder: Add source files directly from a folder
Edit selected task: Edit selected file
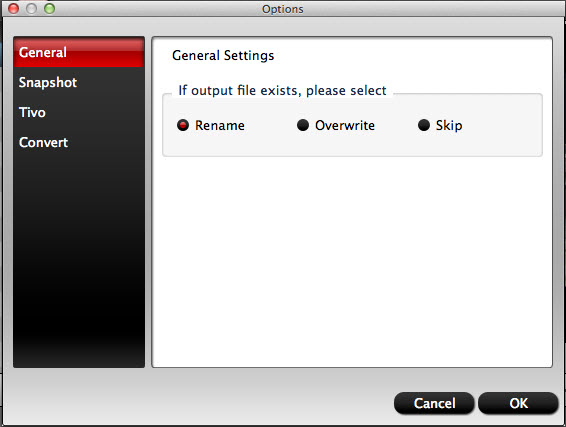
Options: Open Options panel
In General tab, you can choose what to do if the output file name already exists.
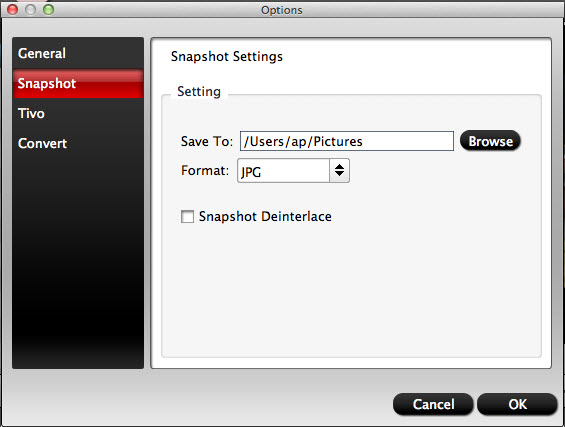
In Snapshot tab, you can set the output folder to save the pictures and the format of the pictures. You can choose from JPG, PNG, TIFF, and BMP. And you can deinterlace the snapshot.
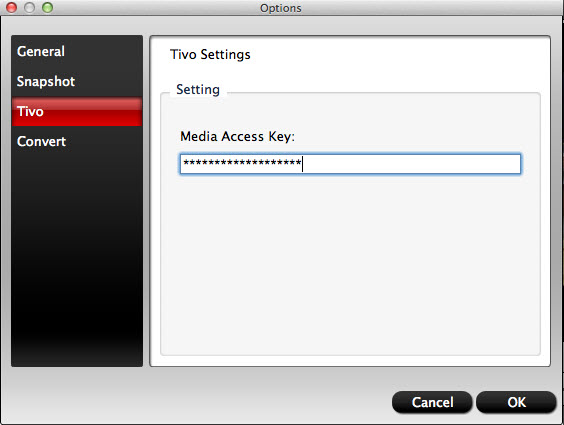
If you want to load your TiVo recordings into this program to do format conversion, you need to enter your Media Access Key in Tivo tab.
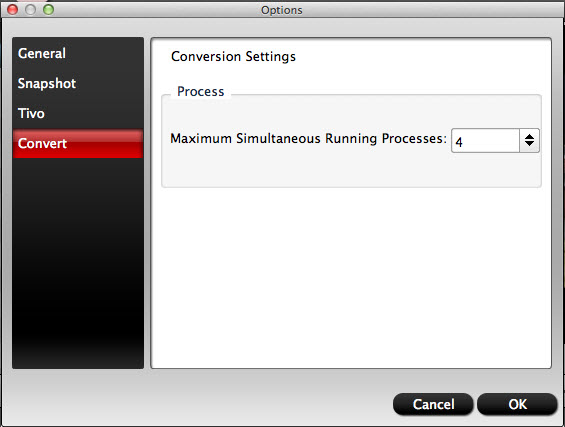
In Convert tab, you can set how many tasks to process while converting.
4. File list/task list
In the file list/task list you can find task information like file name, duration, trimmed length, and destination file. Under the file list there are control buttons to organize the conversion tasks.
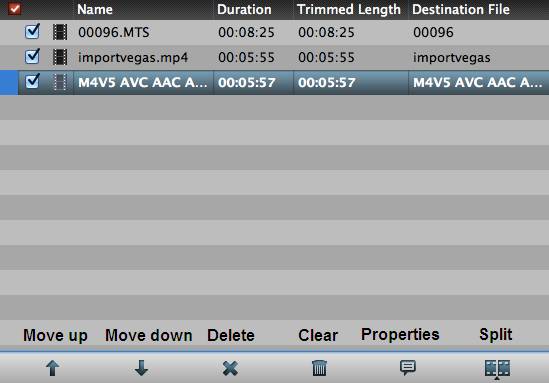
Move Up: Move the selected file one line up.
Move Down: Move the selected file one line down.
Delete: Remove selected file from the file list.
Clear: Remove all the files from the file list.
Properties: View properties of selected task.
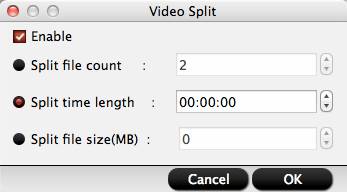
Split: Split selected task.
Using the Split function, you can split the selected video file into required video clips by specifying the clip quantity, duration time and file size.
5. Preview Window
Users are allowed to preview the video before conversion. Double-click on a file to preview it. The Preview window includes the following playback controls:
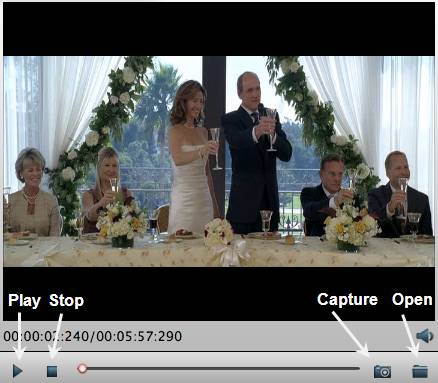
Play: Click to start playing the selected file. The button changes to Pause.
Stop: Click to stop the playback.
Capture: Take a snapshot.
Open: Open the snapshot folder.
6. Output settings area
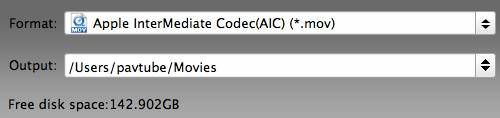
In output settings area you can set target format, destination folder, adjust audio/video parameters, merge files into one, and open output folder.

7. Status bar
The Status bar shows you free space of your target disk.