After upgrading to Mac's newest operating system, many people complain that they have great trouble to import and edit videos with iMovie on Mac OS X El Capitan. They may be not able to convert videos to another format, can't add background music or their imported audio is out of sync with video. No matter what the problems are, you won't have a good experience using iMovie to edit video on Mac El Capitan until Apple fixes all those issues. The good new is that there are some iMovie alternative applications for you to fix this issue with ease.
Edit Videos with iMovie Alternative on Mac OS X El Capitan
Pavtube iMedia Converter for Mac is an ease of use video editing application with perfect compatibility on Mac OS X El Capitan. As a award-winning iMovie alternative tool, it supports to import various file formats including Blu-ray/DVD disc, online downloaded movies with Tivo, MKV, FLV, MP4 formats or Sony/Canon/Samsung/Panasonic camcorder recorded MXF, XAVC, H.265, MTS, M2TS, etc formats. The biggest merits of this program is its versatile but beneficial editing functions listed as below:
Trim: cut out unwanted parts from the video to have only your desired parts to be converted
Crop: Get rid of the black edges and unwanted area of the image from the video.
Text watermark: Add text/image/video watermark to the selected video clip to make it more personalized.
Effect: Apply special effects like Simple Gauss Blur, Flip Color, Invert, Aged Film to your source video or correct color by adjusting brightness, contrast, and saturation. You can also tick off "Deinterlacing" to keep good image quality.
Edit Audio: Replace/remove original audio, or set audio fade in/out effects.
Subtitle: In this tab, you can add *.srt or *.ass/*.ssa external subtitle-files to video files as hard subtitles.
How to edit videos on Mac OS X El Capitan with iMovie Alternatives?
Step 1: Load video files to the program.
Start iMovie Alternative for El Capitan on your Mac computer. Click "File" > "Add Video/Audio" or "Add from folder" to import source video files to the program.
Step 2: Edit videos.
Click the "Pencil" like icon on the main interface of the program to open the "Video Editor" window, then start the fantastic video editing trips:
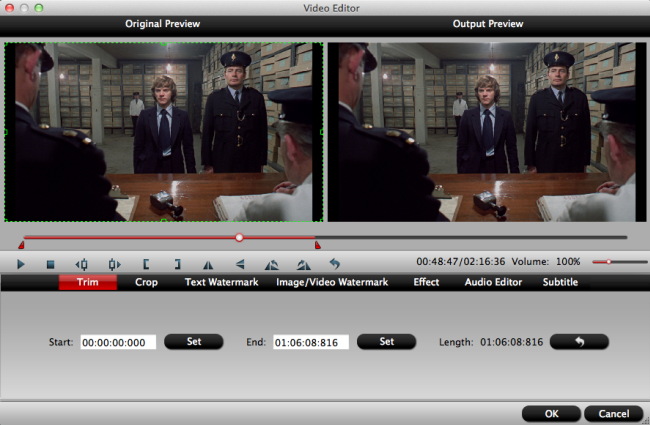
Trim:
Switch to the "Trim" tab, drag the slider bars to set the start time or ending time to include the segments you wish to be converted or click the square brackets to set the start point or ending point when preview the video, you can also directly input specific value in "Start" and "End" box to select the converted clips.
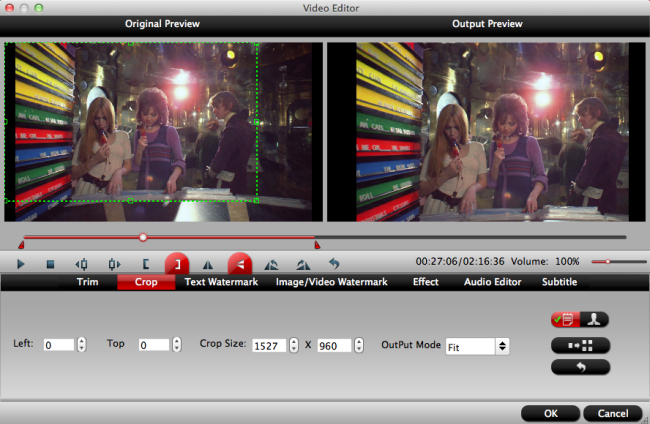
Crop
Click "Crop" tab, simply move your mouse cursor to drag and adjust the green frame to desired position or crop video be setting specific values in the box of "Left", "Right" and "Crop Size" under "Simple Mode" and type in specific values in the box of "Left", "Top", "Width" and "Height" under "Advanced Mode".
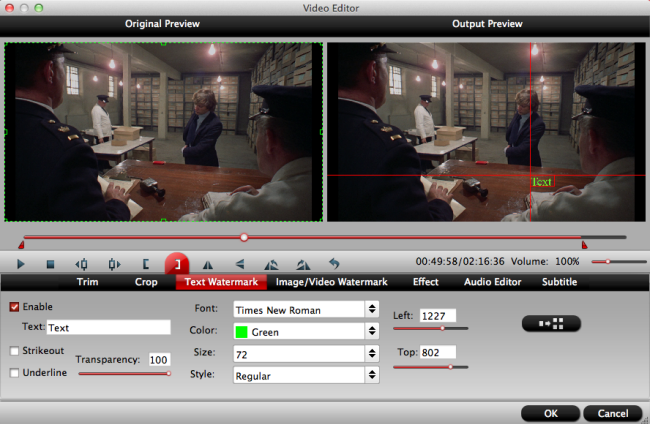
Watermark
Go to "Text Watermark", check Enable to add text watermark to selected video clip. You can either set parameters or drag the text on preview screen to set its location.
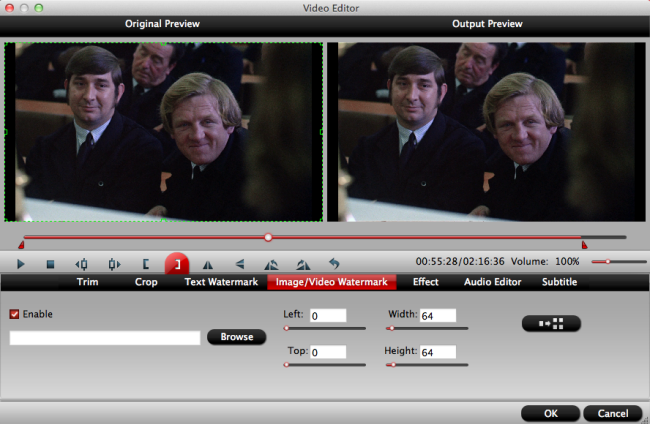
Switch to "Image/Video Watermark", Check Enable to add images or videos as watermark onto selected video file. The location can also be set by dragging on the preview screen.
Text Watermark
Image/Video Watermark
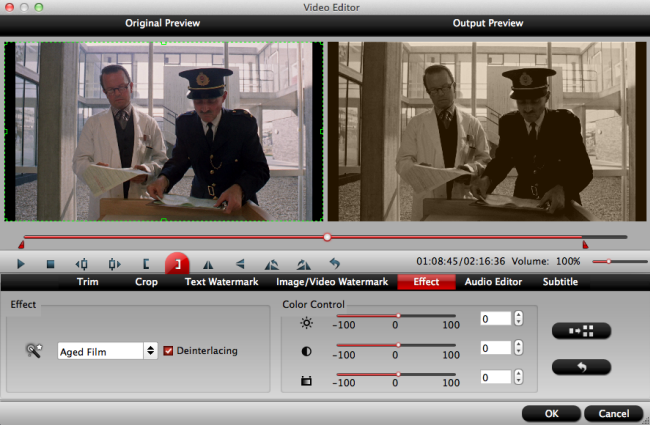
Effect
Under Effect tab, you can add special effects like Simple Gauss Blur, Flip Color, Invert, Aged Film to your source video. In Color Control section, you can correct color by adjusting brightness, contrast, and saturation. You can also tick off "Deinterlacing" to keep good image quality.
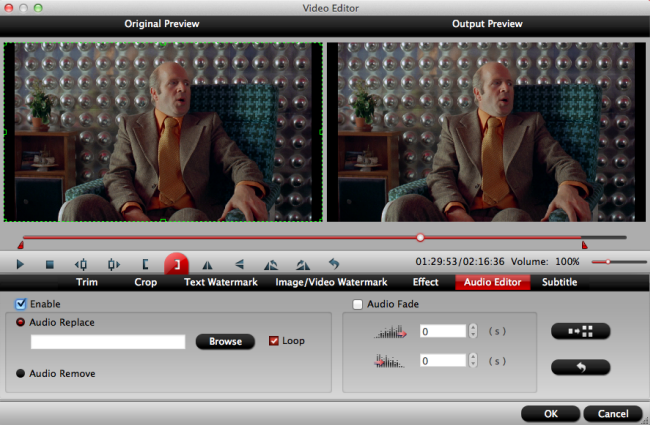
Edit Audio
Replace/remove original audio, or set audio fade in/out effects.
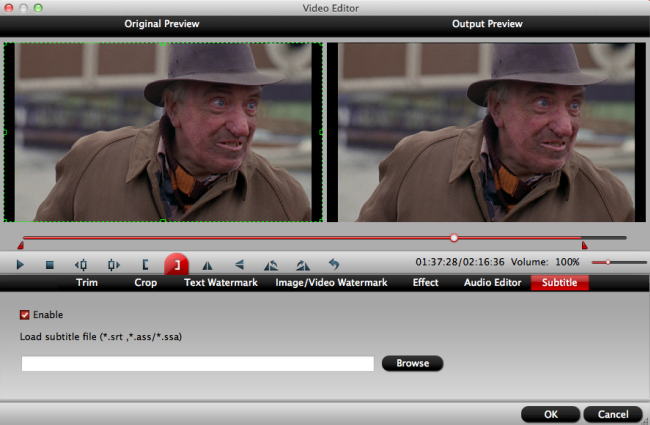
Subtitle
In this tab, click browse button to add *.srt or *.ass/*.ssa online downloaded subtitle-files to the video as hard subtitles.
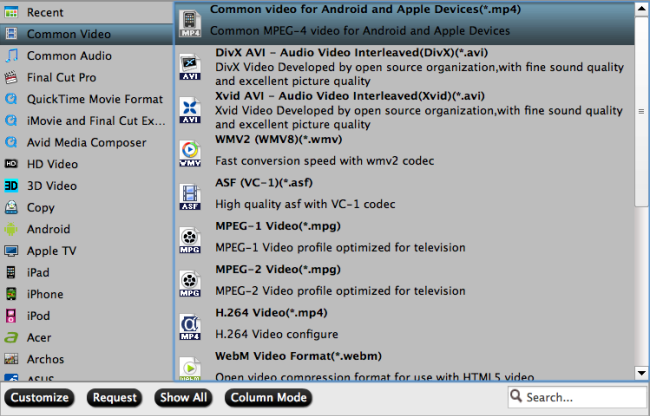
Step 3: Choose output file formats.
To make the output video more compatible for further usage, the program provides various video and auio formats and devices or applications preset file formats for you to output. You can choose one of them as your final output file format according to your own preference.
Step 4: Start conversion.
Browse your Mac hard drive to find the final destination to store the converted files. Then hit right-bottom "Convert" button to start the video conversion process.


