In this part you will find overview, key features, and system requirements, as well as installation, registration, and user interface and menu instructions of Pavtube MXF Converter.
What is Pavtube MXF Converter?
Install, Register, & Uninstall Pavtube MXF Converter
What is Pavtube MXF Converter?
If your camcorder shoots footage in .MXF/.mxf format, you may need Pavtube MXF Converter. Pavtube MXF Converter is a smart tool specially designed for users to preview and convert MXF recordings to your wanted video and audio formats, so as to smoothly add them into Sony Vegas, Adobe Premiere, Windows Movie Maker, Magix Movie Edit Pro, Ulead DVD MovieFactory, Ulead DVD MovieFactory and more other video editing software to do further editing.
More than that, Pavtube MXF Converter comes with optimized format presets for the most popular multimedia devices, such as iPad, Apple TV, PS3, Xbox 360, Motorola Xoom, HP Touchpad, Samusng Galaxy Tab, BlackBerry PlayBook, etc. so you can also freely convert MXF recordings shot by a Panasonic P2 camcorder or a Canon XF camcorder, or a Sony XDCAM camcorder for viewing on your different devices.
Key features:
- Convert MXF/P2 MXF footage to MOV, MP4, WMV, MPG, AVI, MKV, M4V, etc.- Convert MXF for Avid, Adobe Premiere, Sony Vegas, Pinnacle, CyberLink, Windows Movie Maker and other mainstream editing programs.
- Transform MXF videos for playback on Apple iDevices, Windows 8 and Android OS Devices, HD Media Player, TV, etc.
- Support adding .srt/.ass/.ssa subtitles into video file and trimming, cropping, special effect etc. editing functions.
- Support NVIDIA CUDA and ATI Stream (AMD APP) acceleration technologies
- Support converting MXF files in batch and merge them into one file
Install, Register,& Uninstall Pavtube MXF Converter
System Requirements
- Operating System: Windows XP/2003/Vista/Windows 7/Windows 8- DirectX Version: 9.0 or above
- Memory: 64MB at least
- Processor: 500MHz Intel or 500MHz AMD CPU
- Hard Disc Space: 512MB or above
Install & Uninstall
To install Pavtube MXF Converter, please1. Download Pavtube MXF Converter setup or install file.
2. Double click on the setup file to begin installation.
3. Follow the instructions to install Pavtube MXF Converter on your PC.
To remove Pavtube MXF Converter from your computer, please
- Hit Windows Start and go through the following options: All Programs -> Pavtube -> MXF Converter -> uninstall Pavtube MXF Converter.
- From Windows Start menu, select to open “Windows Control Panel”. Double click “Add or Remove Program”, scroll to “Pavtube MXF Converter”, and click Remove.
(More details are provided at How to install and register Pavtube software)
Registration
Please note that you can’t directly register the software from trial version. You need to purchase the retail version, activatePavtube Member Zone account, and login to get the download link and registration code for retail version. If you didn’t get the activation email, please contact our technical support via videowinsupport@pavtube.com for help.
User interface
Pavtube MXF Converter is a very easy-to-use converter tool. You can get what you want within just a few clicks on the interface.
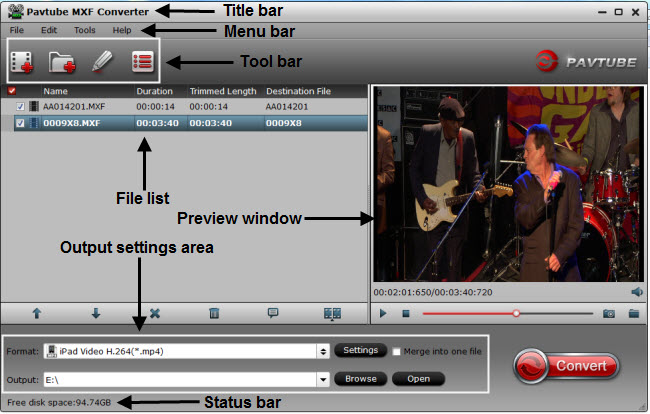
The main interface is composed of title bar, menu bar, tool bar, file list, preview window, output settings area, and status bar.
1. Title bar
The title bar displays software name.
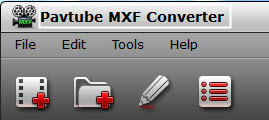
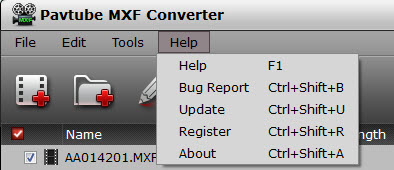
2. Menu bar
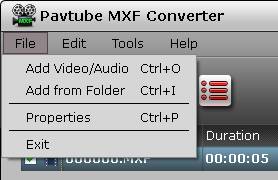
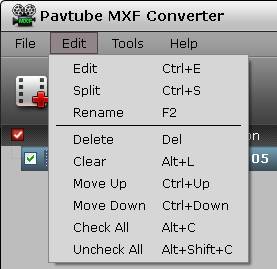
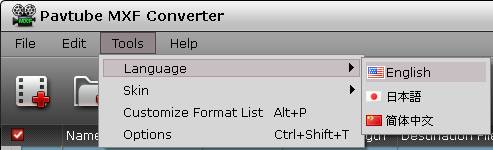
There are four menus in menu bar, namely “File”, “Edit”, “Tools” and “Help”.
File: Contain operations like "Add Video/Audio", "Add from folder", "Properties" and "Exit".
Edit: Edit selected task.
Tools: On this menu, you can change language and skin, customize format list, or launch Options window.
Skin: Currently, there’s only one skin.
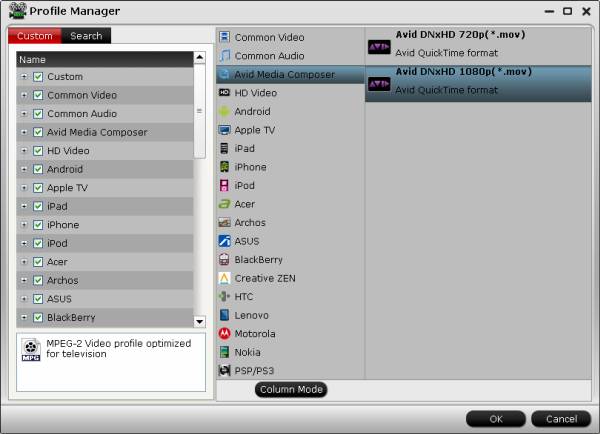
Customize Format List: You can launch Profile Manager and choose which output format to show in your format list. By default, all output formats will show in format list. This manager can also be launched by clicking Customize button
 at the bottom of Format list.
As shown in image below, by checking specific categories on the left column, you can choose which categories or output formats to show on format list.
Options: Choosing Options, you can launch Options window. It can also be launched by clicking Options button  on tool bar.
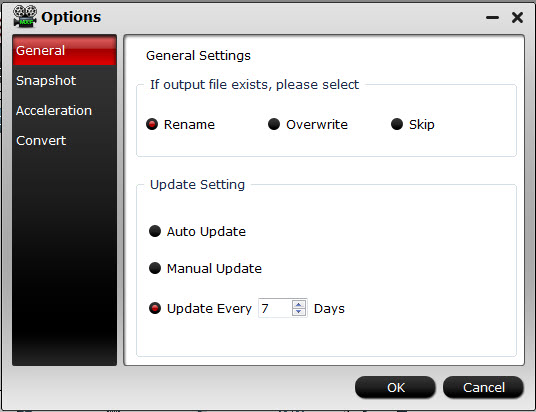
In General tab, you can choose what to do if the output file name already exists and set update frequency.
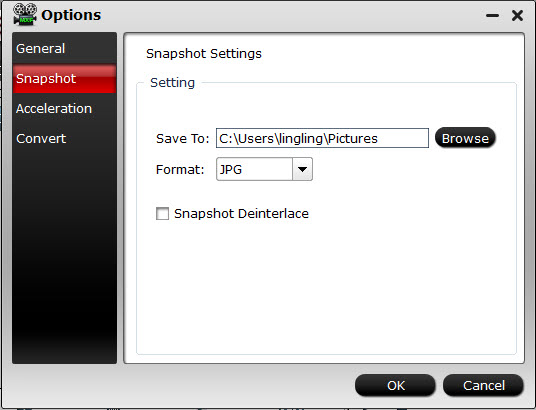
In Snapshot tab, you can set the output folder to save the pictures and the format of the pictures. You can choose from JPG, PNG, TIFF, and BMP. And you can deinterlace the snapshot.
Under Acceleration tab, you can choose to enable GPU Decode or Encode Acceleration if your computer supports.
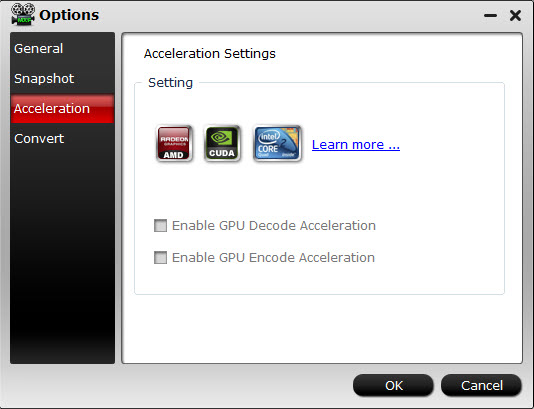
Note that CUDA/AMD is accessible only when there is an NVIDIA/AMD graphics card that supports GPU en-decoding acceleration. The CUDA/AMD button will be grayed out/ denied when the software fails to detect a satisfactory NVIDIA/AMD graphics card. The CUDA and AMD APP acceleration only work when creating H.264 encoded video files. Click to learn more about which graphics cards are supported)
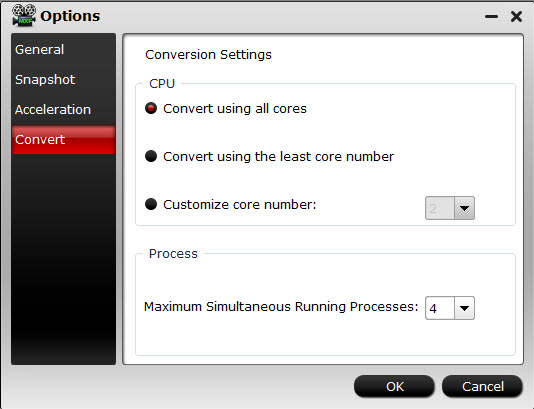
In Convert tab, you can set how many cores to use and how many tasks to process while converting.
Help Menu: On this menu, you can find the online user manual, go to Pavtube Community, check update, launch register window with purchase link (if you are using a trial version), and find version number and other information about this program.
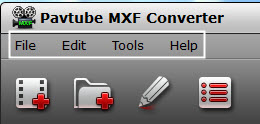
3. Tool bar
Four icons are displayed in tool bar.

Add from folder: Add source files directly from a folder
Edit selected task: Edit selected file
Options: Open Options panel
4. File list/task list
In the file list/task list you can find task information like file name, duration, trimmed length, and destination file. Under the file list there are control buttons to organize the conversion tasks.
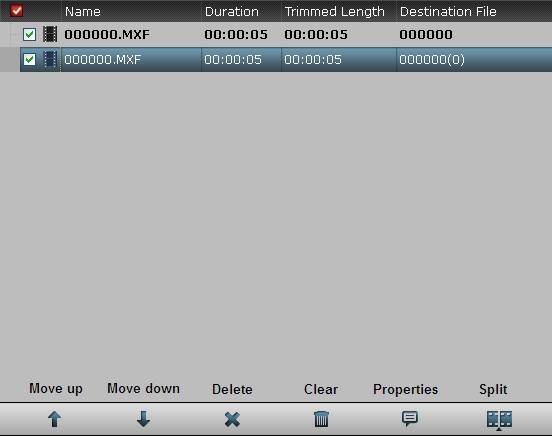
Move Down: Move the selected file one line down.
Delete: Remove selected file from the file list.
Clear: Remove all the files from the file list.
Properties: View properties of selected task.
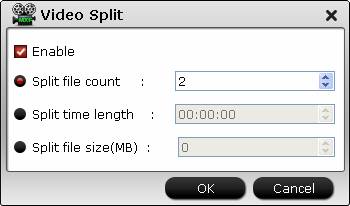
Split: Split selected task.
Using the Split function, you can split the selected video file into required video clips by specifying the clip quantity, duration time and file size.
5. Preview Window
Users are allowed to preview the video before conversion. Double-click on a file to preview it. The Preview window includes the following playback controls:
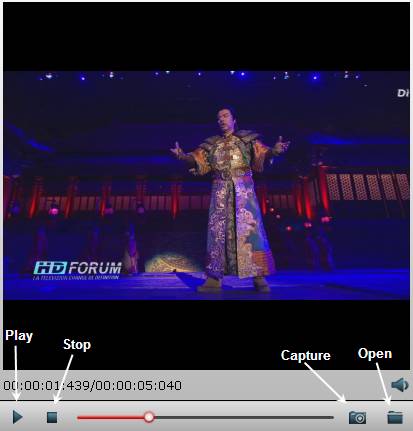
Play: Click to start playing the selected file. The button changes to Pause.
Stop: Click to stop the playback.
Capture: Take a snapshot.
Open: Open the snapshot folder.
6. Output settings area
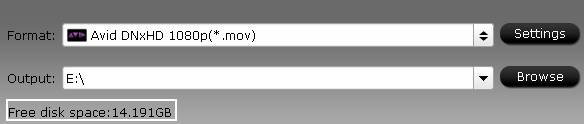
In output settings area you can set target format, destination folder, adjust audio/video parameters, merge files into one, and open output folder.

7. Status bar
The Status bar shows you free space of your target disk.