During the process of video editing, or as a video editor recording and editing feature documentaries, what are the fundamental procedures or what are the basic elements? Well, there is no doubt that you should prepare yourself with a video editing program like Adobe Premiere Pro/DaVinci Resolve, and source materials such as videos, photos, and audios. Even though you’ve got a professional editing software, or had abundant editing media files, you may still face the serious problem: How to import your desirable or favorite footage from a feature documentary to an editing program like Adobe Premiere Pro and DaVinci Resolve for rough or final editing?
Feature documentaries can be stored in a Blu-ray/DVD disc and come with a special video format incompatible with Adobe Premiere/DaVinci Resolve. The top priority for you is to take advantage of a versatile video converter to rip and convert your feature documentaries to Adobe Premiere Pro/ DaVinci Resolve supported video format. Pavtube BDMagic allows you to get your favorite footage from a complete feature documentary and convert it to Adobe Premiere Pro/ DaVinci Resolve for free editing.
How to rip feature documentary footage for rough & final editing in Adobe Premiere Pro/ DaVinci Resolve?
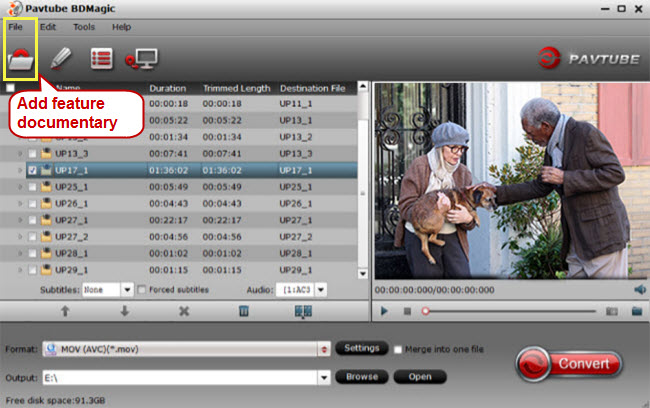
Step 1. Add feature documentary
Run Pavtube BDMagic, and add feature documentary footage to it by clicking “File” or the file icon right below it on top left corner.
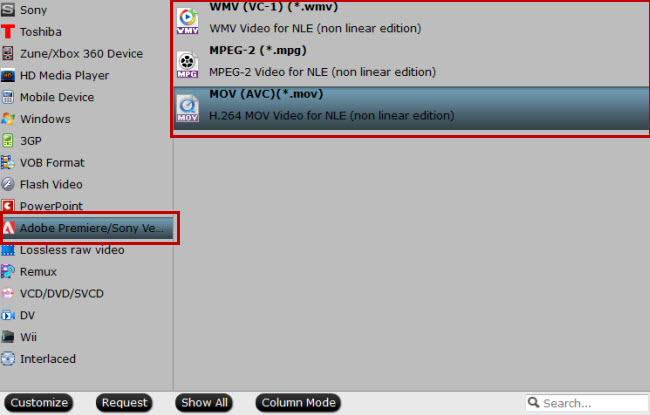
Step 2. Choose compatible video format
According to Adobe Premiere Pro supported video formats, click the format bar to follow “Adobe Premiere/Sony Ve…” > “WMV (VC-1) (*.wmv)”/“MPEG-2 (*.mpg)”/“MOV (AVC) (*.mov).” And there is hardly anything that DaVinci Resolve doesn’t support.
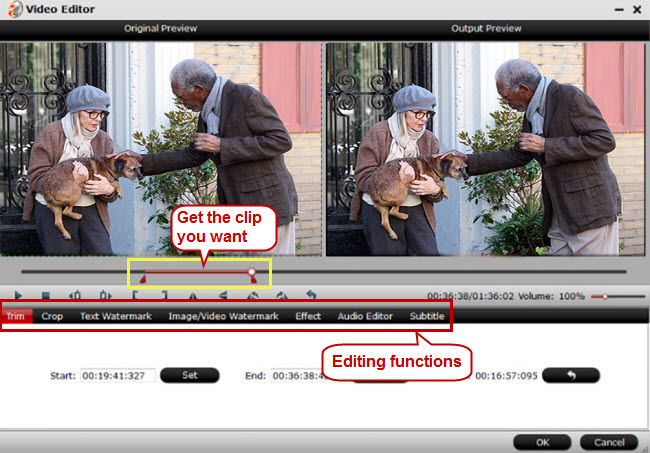
Step 3. Edit feature documentary footage
Before converting your feature documentary footage, you can edit it with the built-in video editor to do rough cuts. Click “Edit” or the pencil icon at menu area to switch to the editing interface where you can save your favorite video clip by trimming, cut off unwanted areas through cropping, and add watermarks/special effects/subtitles, etc.
Step 4. Start converting feature documentary footage
One click the big red button “Convert” to start conversion from feature documentary footage to Adobe Premiere Pro/ DaVinci Resolve.
Step 5. Import the converted footage
When finishing conversion, run Adobe Premiere Pro/ DaVinci Resolve on your PC and import the converted feature documentary footage to it.
XAVC videos shot by a Sony F55/F5 can also be imported to Adobe Premiere Pro for further editing.


