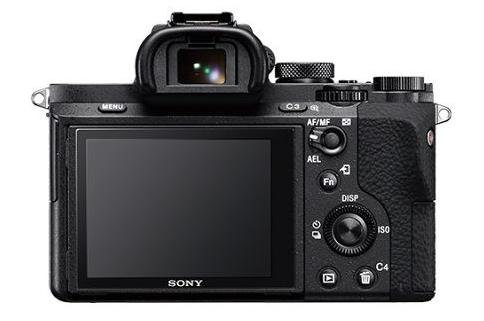
The A7S II Mirrorless Digital Camera from Sony offers an impressive blend of sensitivity, wide dynamic range, internal 4K movie recording and superior shooting stability. The A7S II is capable of internal UHD 4K recording at 30fps with full pixels as well as 1080p recording at up to 120fps, all in the XAVC S format.

After recording a video with Sony A7S II, people typically look for ways to edit the video footage with some professional NLE video programs such as FCP, Avid Media Composer, Adobe Premiere Pro, etc. Here, we will focus on the workflow of Sony A7S II with FCP. For Final Cut Pro 10.1 (Final Cut Pro X) users, you will have no problem to ingest 4K XVAC or XVAC S video, however, the previous version of FCP, like FCP 6 or 7 is not compatible with neither XAVC nor XAVC S. Therefore, you will always end up with failure when you try to import Sony A7S II XAVC S to FCP 6/7 for editing.
How to solve this incompatible issue? Since FCP 6/7 works with Prores Codec, a line of intermediate codec, which is intended for use during video editing with impressive image quality and perfect editing performance. To output Apple Prores codec from Sony A7S II XAVC S, you can download Pavtube HD Video Converter for Mac, which is capable of converting Sony A7S II 4K video to FCP 6/7 most preferable Apple Prores 422 format in different types of Apple Prores codec.
Related topics: best free 4K Video Converter | Upload 4K Video to YouTube | Play 4K Video on Mac
Tips:
1. When converting MTS footage using Final Cut Pro oriented format templates(e.g. Apple Prores), please ensure that your computer has Final Cut Pro installed, otherwise the converted files will have audio only without image.
2. If you are using FCP X, please make sure you have installed ProApps QuickTime Codecs, or you may get files with sound only without video.
How to encode Sony A7S XAVC S 4K Video to FCP 6/7 for Professional Editing?
Step 1: Input Sony XAVC S 4K video files.
Start the program on your computer, add Sony XAVC S 4K video to the program by clicking the "Add Video" or "Add folder" button.

Step 2: Choose Apple Prores format to output.
From "Format" drop-down option, choose "Final Cut Pro"> "Apple Prores 422(*.mov)" as output format. To output higher quality video, it is ideal for you to output "Apple Prores 422(*.mov)" or "Apple Prores 422(HQ)(*.mov)" format. To output small size video, choose Apple Prores 422(LT)(*.mov) or Apple Prores 422(Proxy)(*.mov) format.

Step 3: Customize output video and audio settings.
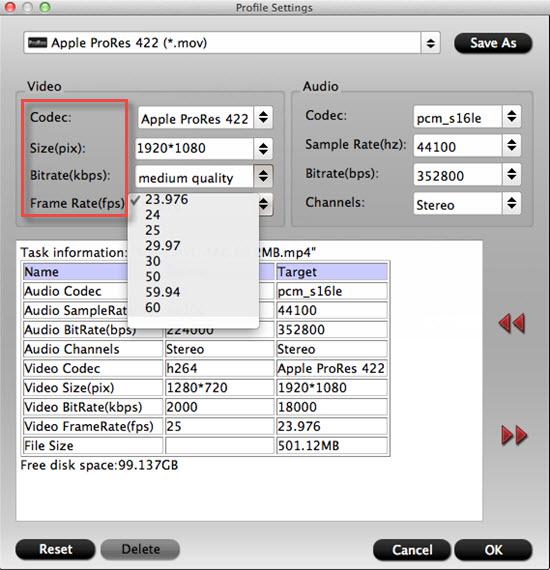
Open "Profile Settings" window to adjust output video and audio parameter settings according to your own preference. For smooth workflow of Sony A7S II video with FCP 6/7, you are recommended to downscale 4K XAVC S to 1080p Prores from "Size(pix)" drop-down selection.

Step 4: Start the conversion process.
After all the setting is over, go back to the main interface and hit right-bottom "Convert" button to start Sony A7S II 4K XAVC S to FCP 6/7 1080p Apple Prores 422 conversion process.
When the conversion is completed, launch FCP 6/7, go to "File" > "Import" > "Media" to add the converted prores files to FCP 6/7 for further professional editing. You do not need to check "Create Optimized Media" or "Create Proxy Media" option since we already converted the media to ProRes which means Final Cut Pro X can use the footage without "optimizing" it. Checking this box would create a redundant and time consuming second transcode of your footage.


