The QNAP NAS’s official support for Kodi helps to unleash the power of QNAP via Kodi and turn your NAS into a powerful media player. The HD Station installed on your QNAP NAS is a platform where the famous XBMC application or Chrome browser can be installed to let you directly play back your NAS multimedia contents or browse the internet websites on the TV screen thru the HDMI interface. The following article will show you how to use QNAP NAS on a TV via HD Station and Kodi in the following two parts:
Install HD Station & Kodi on QTS
Use Kodi to play music, video and photos stored on QNAP NAS
Install HD Station & Kodi on QTS
Currently, the HD Station is supported by the TS-x69L, TS-x69 Pro, TS-x70 and TS-x70 Pro Turbo NAS models. To install HD station on QNAP NAS, follow the steps below:
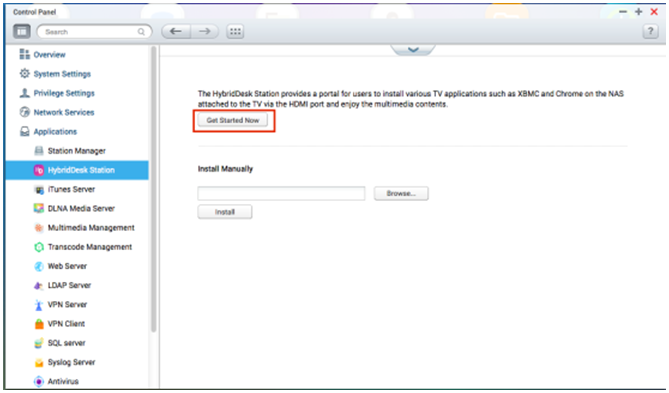
On your QTS, go to “Control Panel” > “Applications” > “HybridDesk Station”, then select “Get Started Now”.
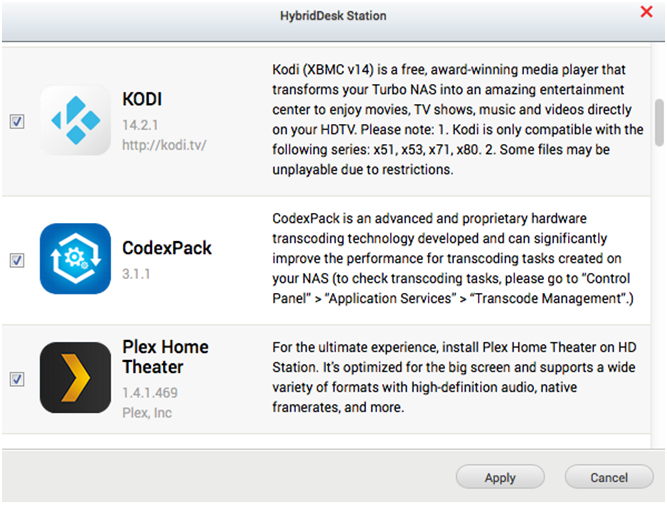
Install Kodi or other applications with HD Station on QNAP TS
In the opened “HybridDesk Station” window, select “Kodi” application or other applications you like to install and select “Apply”, the system will then install HD Station and the selected Kodi application or other applications on your QNAP NAS.
Connect your NAS to your TV screen via its HDMI cable.
To remote control the HD Station on your TV screen, there are 4 different ways:
QNAP remote controller
USB keyboard or mouse
Qremote: QNAP remote app, exclusively designed for the HD Station
QNAP remote controller
Note: If you want to use the Chrome to browse an internet website, you are required to use the mouse function on the Qremote or use the USB mouse directly connected to the NAS.
Use Kodi to play music, video and photos stored on QNAP NAS
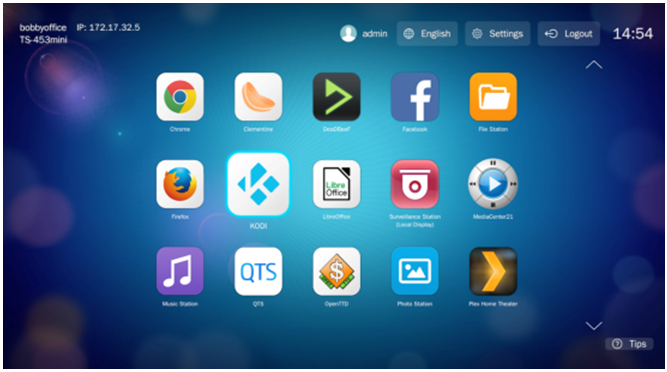
1. On your TV, open HD Station, find and run Kodi.
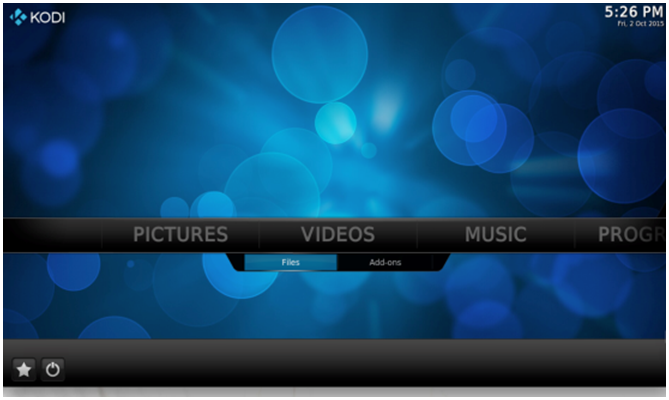
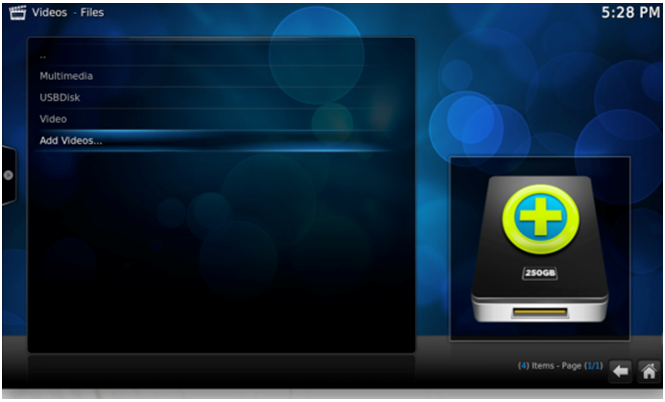
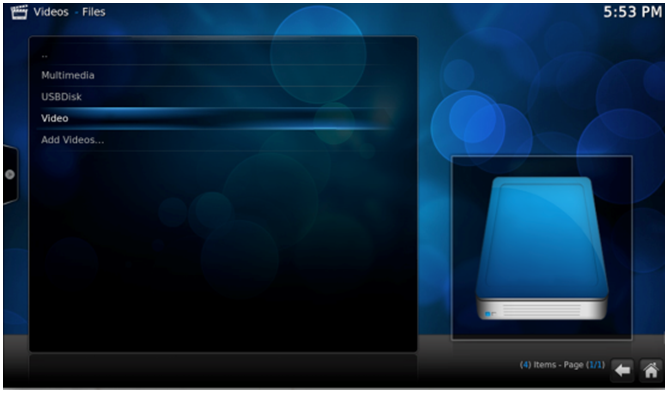
2. In Kodi you can choose “Pictures”, “Videos”, or “Music”. Select “Files” to see the media locations you added.
3. Select “Add videos…” to choose media sources you want to add.
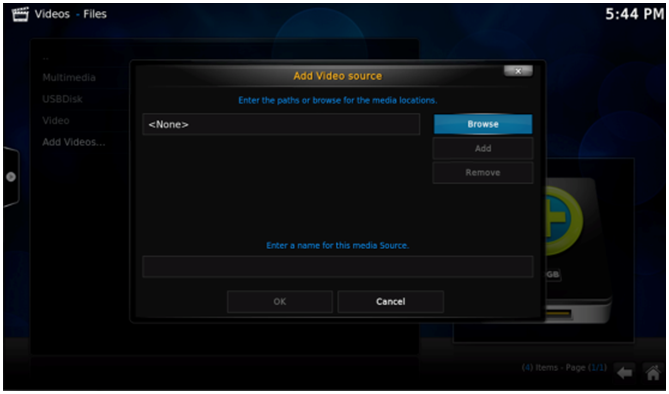
4. Select “Browse” to choose the path of the media folder.
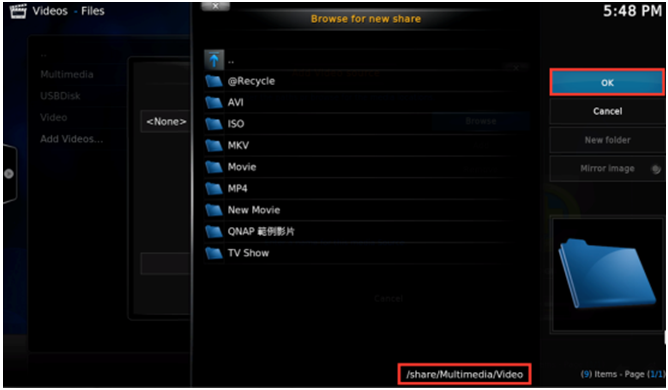
5. The default NAS folder path is “Root Filesystem” > “Share”. Choose the folder you want to add then select “OK”.
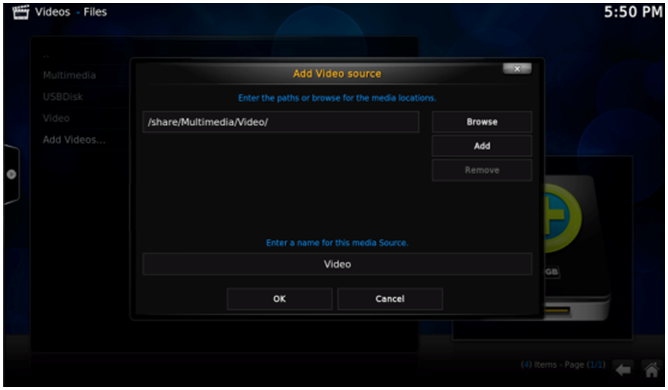
6. You can name this media source and add multiple sources at one time. Select “OK” to finish adding.
7. You will see the added folders in “Files”.
8. You can now browse through the folder to find your desired media files.
Further Reading:
Kodi Supported File Formats and How to Install and Setup Kodi on Windows
A Hassle Free Guide to Install Kodi on Android TV?
Stream Video from Kodi/XBMC to Chromecast
How to Install Kodi on Amazon Fire TV?
7 Essential Add-ons that you must download
for Kodi Media Player